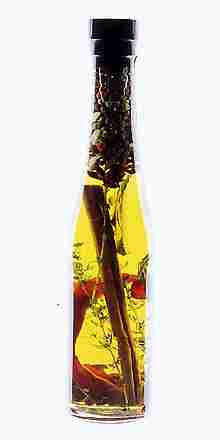

Particularly dramatic results are obtained using trans-illumination, which is a long word that means lighting through the object from behind. The bottle appears to float not because it was shot on glass (a technique that will be covered at a future date), but because the bottle was laid on its side on the lightbox. To avoid having small air bubbles rise to the top surface, the lightbox was inclined slightly, keeping the air bubbles within the dark area at the top of the bottle. The image produced is eye-catching but colours are not true to life.

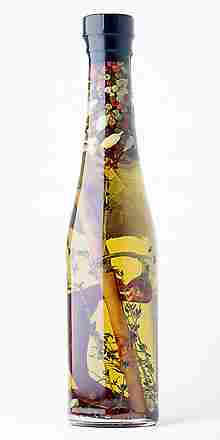
Lighting directly from the front isn't possible (except when using a light-brush system) because the camera needs a clear view of the object being photographed. The closest approach is normally provided by off-axis lighting that comes partly from the side and partly from the front. When bottles are shot this way, a bright highlight is created on the side closest to the light. Multiple light arrangements can give highlights on both sides, with black boards added to create dark, defining lines. The example shown here is a simple single light set-up. Compared to the back-lit shot, the bottle looks more natural but fails to sparkle.

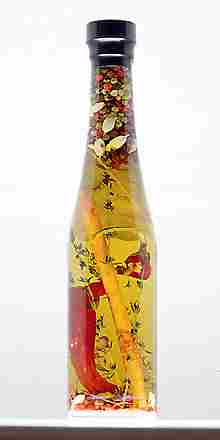
Best results, when photographing objects such as this, are often obtained by lighting from below. When done properly, a circular hole is cut into a black mask upon which the bottle is stood. The mask blocks out all extraneous light but allows light to flood through the bottle itself. No such lengths have been employed here since the purpose of these illustrations is simply to indicate the effects that are possible. Accordingly, it is apparent that bottom lighting gives a naturalistic result that needs just a little tweaking to give a satisfactory final image.
As to what those tweaks might be... the best way to learn is to experiment. Buy a couple packs of Polaroid film and get to it!